Creating a Fundraiser in Simple Raise
Table of Contents
Create a Fundraiser
To create a new fundraiser in Simple Raise, select "Add Campaign" from the Campaigns Page or on the main Store Dashboard Page. This action will trigger the create campaign workflow.
Choose "Fundraiser Product" and follow the prompts there to begin setting up your fundraiser.


Step 1: Enter the Basic Details
Enter your fundraiser name and description, then choose to enable goal settings, goal type, and goal amount.
- Fundraiser Title / Name (letters and numbers only, CANNOT have any special characters).
- Description (there is a 154 character minimum in order to publish)

Step 2: Select The Goal Type and Amount
Determine your Goal Amount (number in $ currency with no commas or spaces)
Select the Goal Type - either Collective Goal or Individual/participant Goals. Students can be added to a fundraiser with an individual goal or a collective goal, but will only receive credit using an individual goal. These goals are defined as follows:
Collective Goal
You set one singular goal for the fundraiser that is collectively shared by ALL of your fundraising participants. Everyone is working towards a common financial objective.

Individual Goal
You set a specific financial goal for EACH of your fundraising participants. If you use this option, you can also split the goal between the individual Participant and the Angel Fund (the organization's funding).

Step 3: Complete Fundraiser Details
Once you’ve selected your fundraising goal type, you will see a screen with entry fields for you to enter the remaining details for your fundraiser:
- Product Photos
- Upload a photo to help convey what your fundraiser is about / who it's for, or upload multiple images to create a Photo Gallery display on your Fundraising Page
Formats supported: JPG, PNG, JPEG. Max size: 10MB (150x60px size). NOTE: PDFs are not supported
We recommend images 500x500px or larger that have a square crop
- Fundraiser Settings
- Fundraiser Start Date: when the fundraising should go live
- Fundraiser End Date: when the fundraising should end. Fundraisers will automatically un-publish at 11:59pm.
- Auto-publish Date (optional): automatically publish the fundraiser on this date at 12:01am.
- Custom Checkout Fields: collect the exact information you need from your customers at checkout. (Questions that have existing answers cannot be removed; instead you will need to mark them as hidden).
- Examples of a custom checkout field could be to list the individual participant this donation is for, include a message for the participant, etc.
- Product Categories: select the category this Fundraiser Campaign falls under. For example, you could have categories in your store like "Fundraiser," "Merch/Swag," and "Tickets," and label any basic fundraisers under that Fundraiser category in the store.

Should you need to add more categories, you can click through on your Settings page to make that adjustment. Then scroll down to the section that says "Product Categories" and add your new Category. You can also rearrange the order of the categories displayed on your Store.

After a category is created in the online store, it cannot be deleted. However, you can make the category invisible by removing all products assigned to it.
-
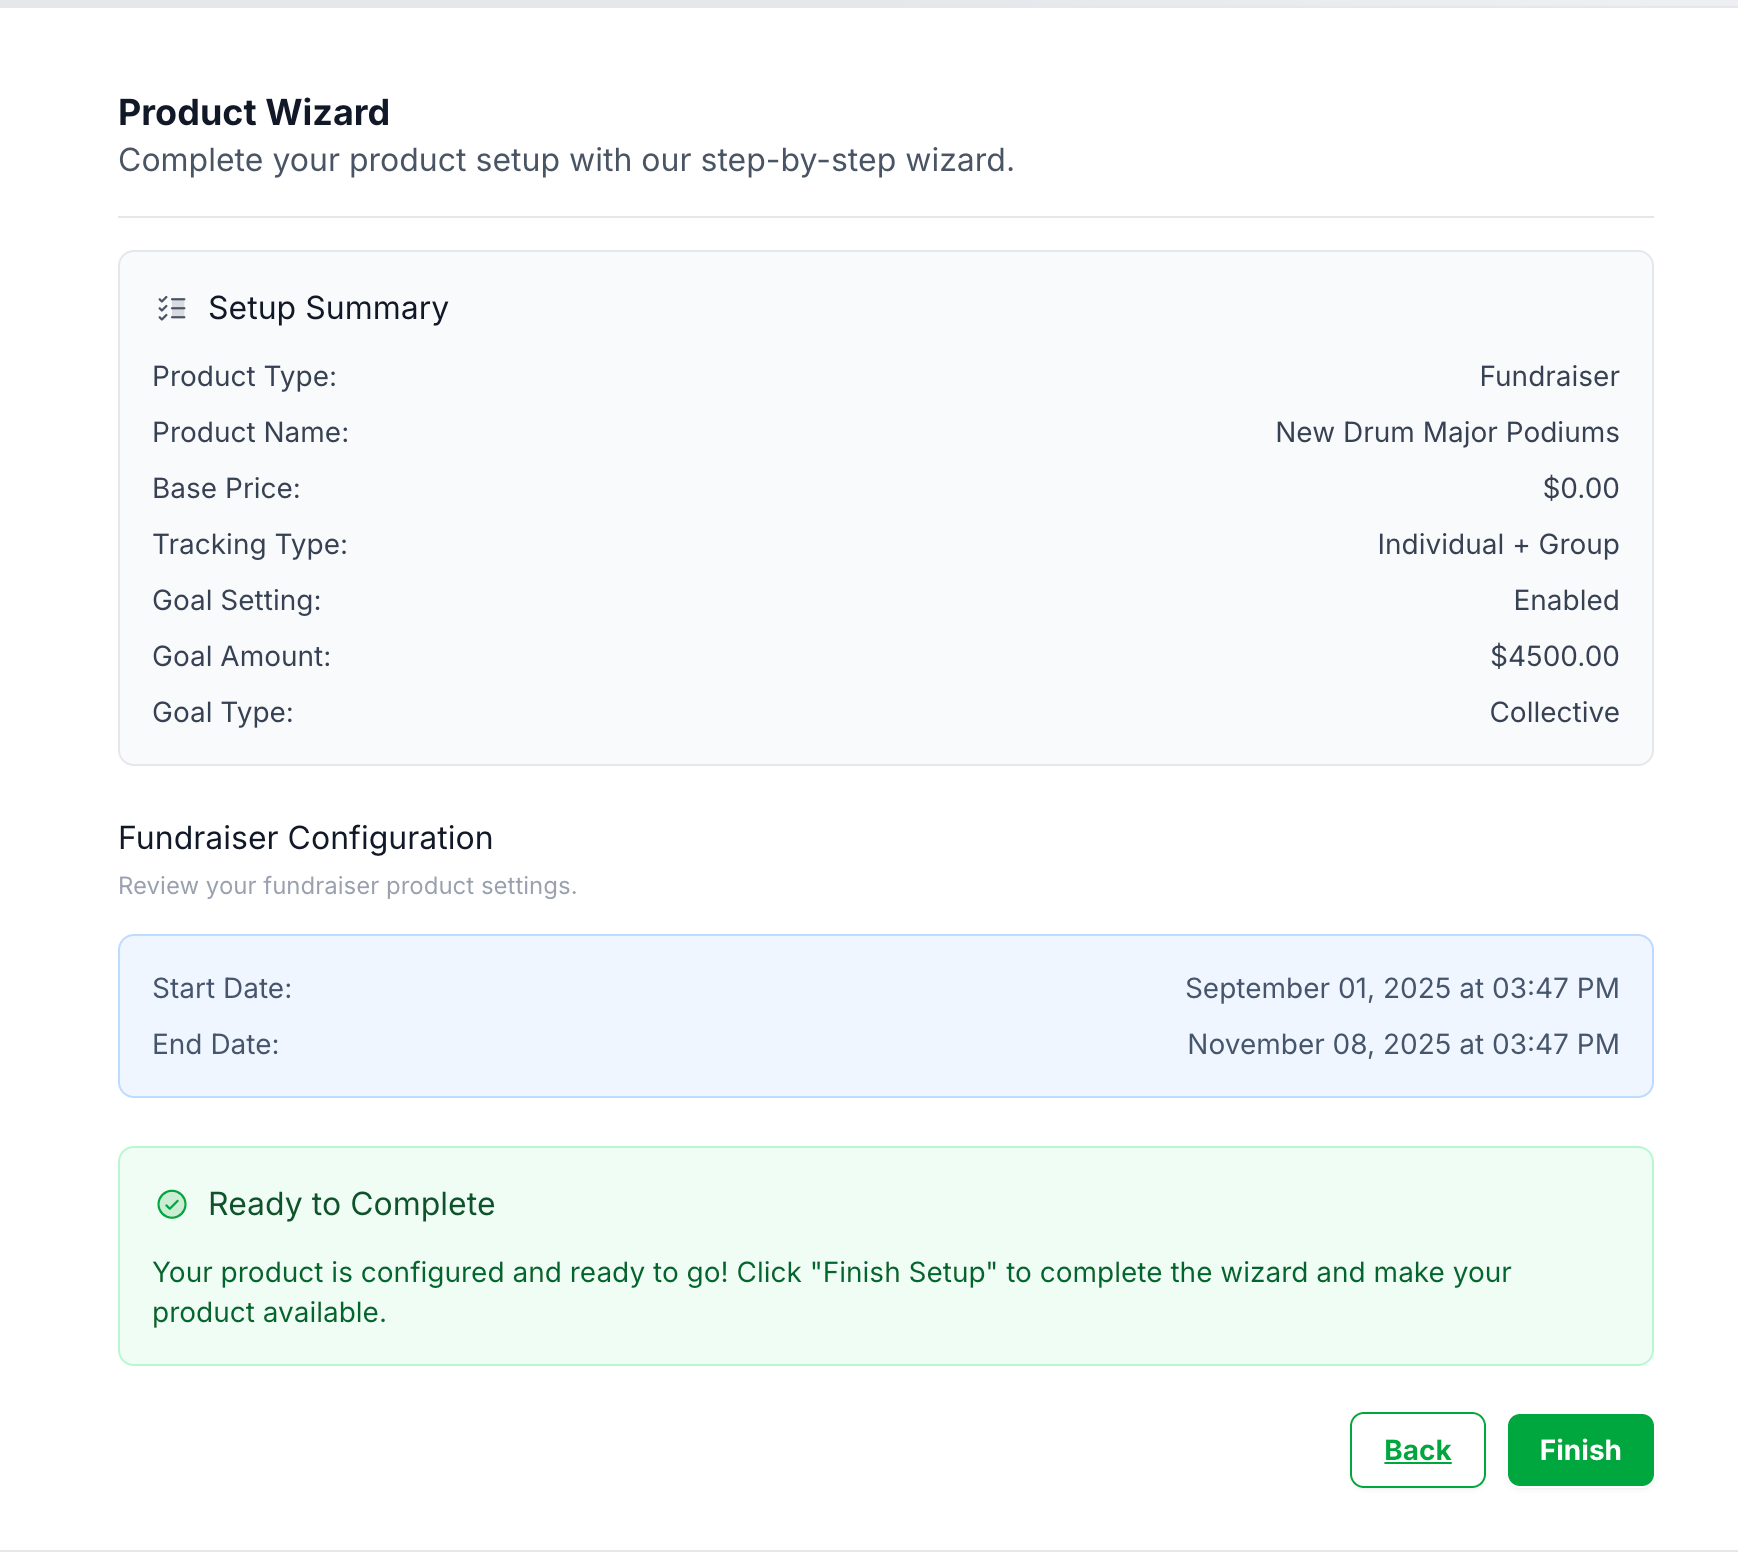
Complete your setup: Check over your details, then click "Finish" to publish this Fundraiser.

Step 4: Invite Participants
If you have opted to set up a Collective Goal Fundraiser, you can then invite Participants to this campaign. Go to the Participants tab in your Campaigns page, then follow the steps here to add participants.

Need More Inspiration?
View our Frequently Asked Questions article.
Get more Fundraising Promotional Tips from our website.